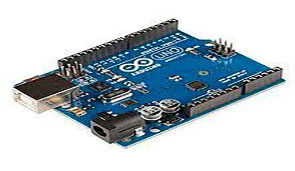
Interfacing new sensors with Arduino software to run projects is a fun and very interesting. We need to add a suitable library in Arduino. Our half-completed project goes waste and fun turn to sadness. Here is the step by step complete tutorial on how to install the Arduino library which can help to interface the sensor with Arduino and enjoy the project in action
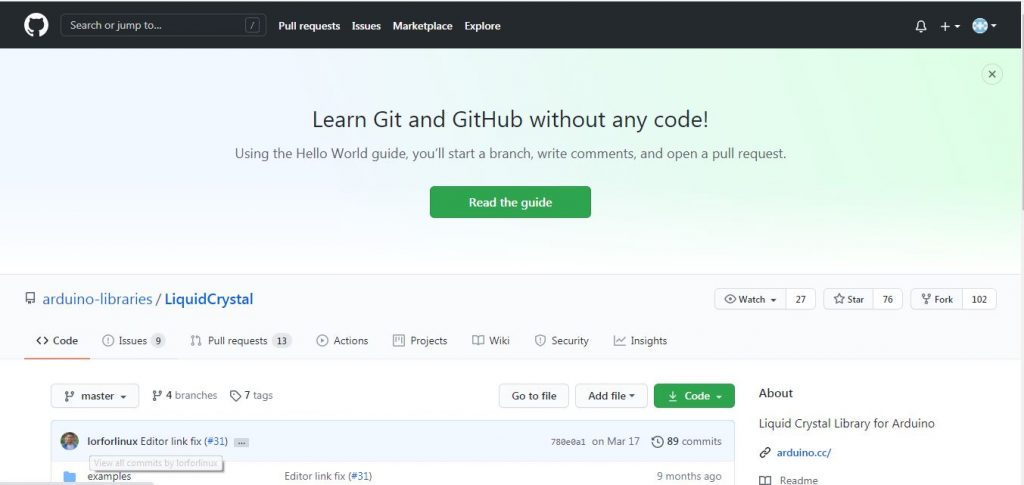
1. Go to the browser and open your library’s github repository.
2. Here you will see a button “Code” .
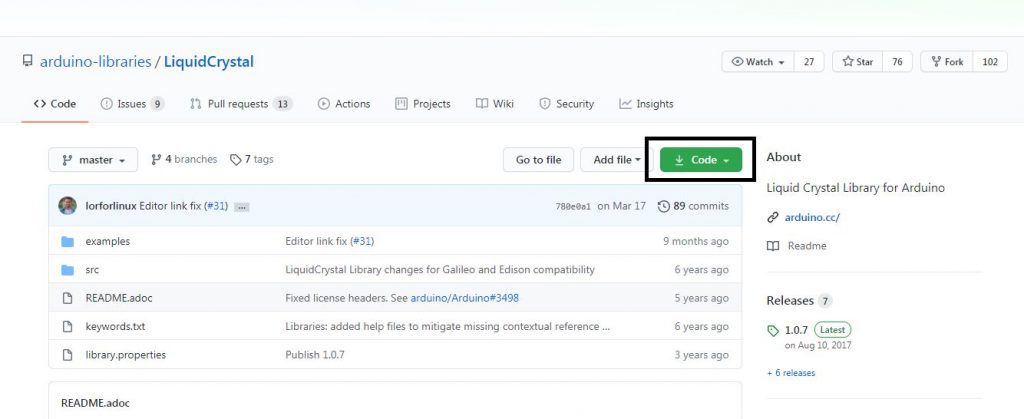
3. When you will click on this button, a dialogue box will occur.
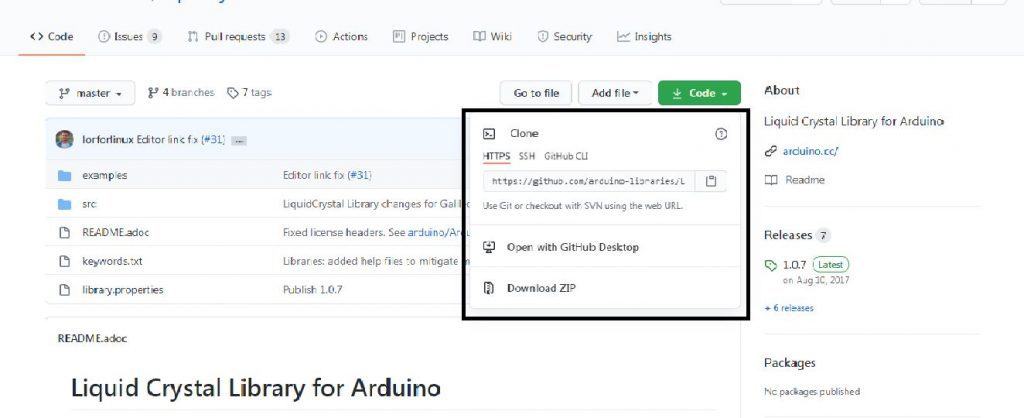
4. In “HTTPS” section, you will see a “Download ZIP” button.
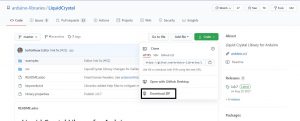
5. Click on this button and the zip file of your library will be downloaded.
Now how to install Arduino library in Arduino IDE . Follow the given steps .
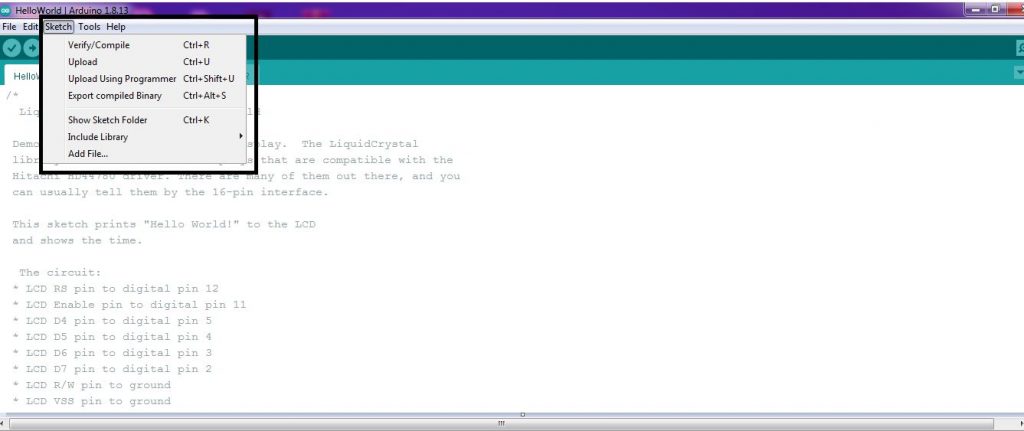
6 — Open your Arduino IDE.

7 — Go to “Sketch” option, a dialogue box will occur.
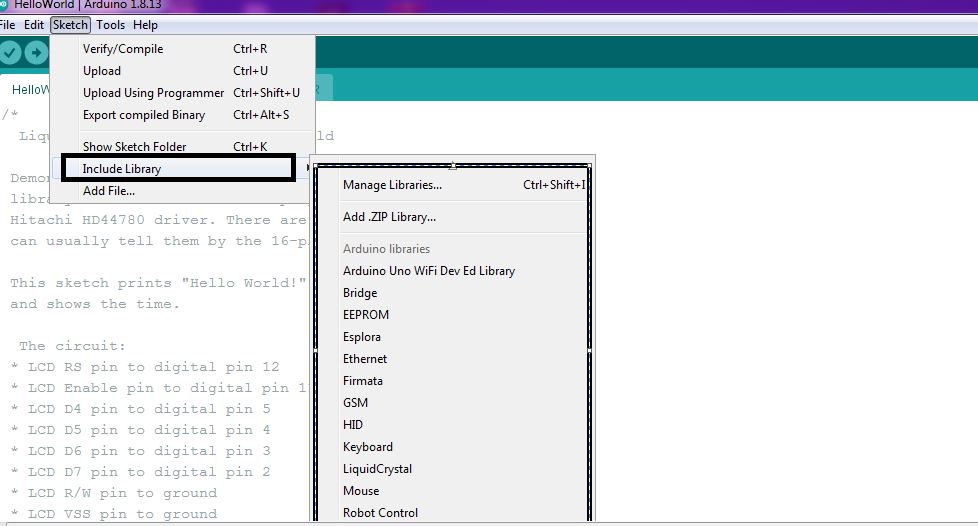
8 —Click on “Include Library” option . Now a dialogue box will appear.
9 — Here you have to click on “Add .ZIP Library”.
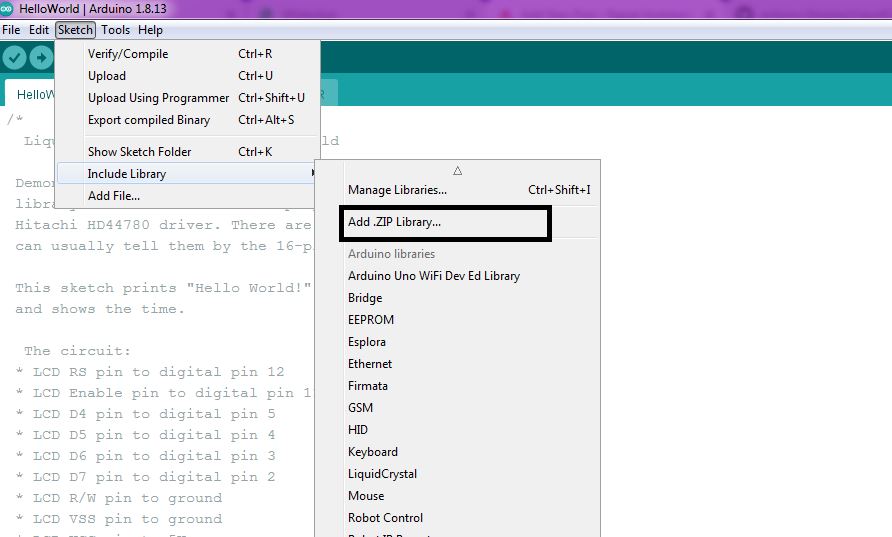
10 — Now select your downloaded zip file of library and click open.
Your library will be added.
Frequently Asked Questions
- How do I add a library to Arduino?
Follow the steps given n the article.
- How do I add a library to Proteus Arduino?
- Download the Zip file.
- Create a new project in Proteus.
- Choose where to save your project.
- The workspace where you can place components.
- Set your mode to component mode.
- Select Arduino UNO, as you will be programming on this board in this example
- How add dht11 library to Arduino?
Choose dht11 library and follow the steps given in the article.
- How add .h library to Arduino?
Follow the steps given above
- Is Arduino based on C or C++?
Adruino follows steps mostly similar to C++
- Can I use python with Arduino?
Yes, it can be used.
Conclusion
Adding library to Arduino becomes easy when you follow a step me step procedure.If someone tries to skip any step and follo shortcut tricks,it becomes a tedious task.One more thing that should be kept in mind is that proper library shoud only be chosen,otherwise, the library may not work.

